

TL;DR
Most agentic AI pilots fail to show ROI not because the technology is weak, but because they are built without clear processes, ownership, or measurable outcomes. Intelligent agents that sit beside broken or undocumented workflows can feel useful but rarely change results. Real value comes when implicit knowledge is made explicit, processes are stabilised, and agents are embedded into orchestrated workflows with governance. When organisations optimise for outcomes instead of intelligence, agentic AI becomes predictable, scalable, and measurable.
Why most pilots fail
Agentic AI has moved fast from hype to experimentation.
From autonomous agents through Copilots to digital workers, most organisations now have at least one agent running somewhere. It might summarise content, answer questions, triage requests, or support a workflow built with Power Automate.
And yet, a few months later, decision makers often ask a simple question:
What value did this actually deliver?
Too often, the answer is vague. The agent works. People like it. But the real business impact is difficult to prove. Not because agentic AI lacks potential but because most initiatives are built on the wrong foundations.
This article looks at why many agentic AI pilots struggle to deliver ROI, and what needs to change to turn experimentation into reliable delivery of business value.
This is the fourth part of our series on agentic AI. Read more about
- How to get your organisation ready for agentic AI
- How to introduce AI into your business processes
- How to help employees adopt agentic AI
Why do most agentic AI pilots look impressive but never show real ROI?
Because they optimise for intelligence, not outcomes. Many early agentic AI initiatives are designed to showcase what the technology can do. A smart agent that drafts responses, analyses text, or answers questions is genuinely useful.
But usefulness alone doesn’t guarantee an actual return on investment. If the agent doesn’t change how work flows through the organisation, its impact remains local and limited.
Real ROI comes when agents are embedded into business processes with clear ownership and measurable outcomes.
Without that connection, teams end up with intelligent tools that sit beside the work rather than transforming it. Productivity may improve slightly, but the underlying process remains unchanged, and so do the results.
What’s the biggest hidden blocker to scaling agentic AI?
Implicit knowledge. Every organisation relies on knowledge that isn’t written down.
- Who really owns a process
- Where data actually comes from
- Which exceptions are acceptable and which ones trigger escalation
These things are “known” but rarely documented.
The problem is that people often can’t clearly articulate this knowledge when asked. Not because they don’t understand their work, but because experience blurs the line between what feels obvious and what needs to be explained. Inside one team, this usually works. For an AI agent, it doesn’t.
Why do AI agents behave unpredictably even with good prompts?
Because prompting can’t compensate for unclear processes. An AI agent doesn’t infer organisational context the way humans do. If instructions, boundaries, and decision logic aren’t explicit, the agent fills the gaps on its own; sometimes acceptably, sometimes not. This is often mistaken for a model problem, when in reality it’s a knowledge problem.
Agentic AI forces organisations to confront how much of their operation runs on assumptions. If that implicit knowledge isn’t surfaced and structured, it’s no surprise when an agent starts behaving inconsistently. It was never given a clear picture of the process it’s meant to support.
Designing agentic AI is closer to teaching than coding. You’re not just telling the system what to do, you’re explaining how work actually happens.
If you can’t explain the process clearly enough that a grandmother could follow it, an AI agent won’t either.
That doesn’t mean over-documenting. It means being precise about what matters: the steps, the handovers, the decision points, the exceptions, and the limits. The clearer the process, the more predictable and valuable the agent becomes.
Can’t we just add AI to existing processes?
You can, but it’s one of the most common reasons ROI stalls.
Many organisations try to layer AI on top of processes that are already fragile. These processes often rely on workarounds, undocumented rules, and individual judgement. Adding an agent doesn’t fix those issues.
This is why employees frequently ask for AI help in areas that shouldn’t be automated yet. The request isn’t really about intelligence; it’s about pain. When you look closer, the real issue is usually missing ownership, unclear inputs, inconsistent data, or accumulated technical debt.
Agentic AI works best when the process it sits on is stable enough to support it. Otherwise, you’re automating confusion, and probably paying for it later.
What does good business process discovery look like for agentic AI?
It starts before any agent is built. Good discovery means being able to describe the business process in concrete terms:
- what triggers it,
- what systems are involved,
- who owns each step,
- where decisions are made,
- and how success is measured.
This is harder than it sounds, especially because internal processes vary widely between organisations and teams.
Domain experts play a critical role here. They understand where the real pain points are, what expectations are realistic, and which edge cases matter. Without them, teams often build agents for the wrong problems or for processes that need fixing before automation makes sense.
In practice, AI readiness work — mapping processes, clarifying responsibilities, and making assumptions explicit — often delivers value on its own. It creates the conditions in which agentic AI can succeed.
How do we move from isolated agents to workflows that actually scale?
This is where process orchestration enters the picture.
- Isolated agents are good at individual tasks.
- Orchestrated workflows are what deliver business outcomes.
Orchestration allows organisations to combine deterministic steps, where control and predictability matter, with AI-driven decisions where flexibility adds value.
In Microsoft-based environments, this often means using Power Automate to manage workflows, while agents contribute reasoning, classification, or decision support within that structure. Instead of asking whether an agent works, teams can measure whether the overall process performs better.
This shift from task optimisation to outcome optimisation is where ROI starts to scale.
Why do waterfall-style AI projects fail so often?
Because agentic AI requires continuous learning, not fixed requirements. The hardest part of building agentic systems is uncovering what the agent needs to know and realising that you don’t know all of that upfront. Understanding improves through iteration, feedback, and encountering edge cases.
This is why forward-deployed engineers are so effective in agentic AI initiatives. Their role isn’t just implementation. It’s asking the naïve questions, surfacing assumptions, and forcing implicit knowledge into the open. In other words, they do the discovery work the agent itself cannot do.
How do governance and guardrails enable more autonomy?
Without governance, organisations keep agents small and disconnected because the risk feels too high. With well-designed guardrails, agents can safely access the systems and data they need, and nothing more.
Security by design doesn’t reduce autonomy; it enables it. When access, behaviour, and decision-making are observable and controlled, organisations can let agents operate closer to real business processes with confidence.
From experimentation to impact
Most agentic AI pilots don’t fail because the technology isn’t ready. They fail because the foundations aren’t.
When organisations invest in optimising processes, cleaning data, making implicit knowledge explicit, involving domain experts, and designing for orchestration and governance, agentic AI stops being a demo. It becomes real value.
And that’s when ROI becomes measurable and repeatable.
We help organisations move from isolated AI experiments to orchestrated, governed agentic workflows that deliver real business impact.
If you’re trying to understand why ROI is stalling — or what it would take to scale value safely — we’re happy to help. Get in touch for a free audit.

TL;DR
Real AI adoption starts after the PoC. To scale successfully, pick a PoC that delivers real business value, built on well-defined processes and measurable outcomes. Treat AI like a product: iterate through MVP cycles with strong governance, clean data, and clear ownership. Maximise impact by building cross-functional capability, aligning IT and business, communicating openly, and starting with use cases that show quick, visible wins.
How to improve AI adoption and avoid money down the drain
When organisations reach a certain stage — the PoC is complete, the checklist is ticked off, SharePoint is clean, governance is in place, access controls are set, and Copilot is already live across the business — the next question becomes very simple:
What should we build next so that AI actually generates value, not just another experiment?
This is also the stage where most AI initiatives stall. The technology might be ready, but the organisation isn’t designing for value, adoption, and iteration.
We call this Value Architecture Design: identifying where AI can create value and designing solutions in a way that people will actually use.
In this post, we outline how to select the right PoCs, how to scale from early wins to managed AI services, and how to prepare your workforce for meaningful, trustworthy adoption.
This is the third part of our series on agentic AI. Read more about
- How to get your organisation ready for agentic AI
- How to introduce AI into your business processes
- How to improve to ROI of agentic AI
- How to upskill your agents for real work
- The biggest mistakes companies make when introducing AI
What does real AI adoption look like?
AI isn’t truly “adopted” the moment a proof of concept runs. It’s adopted when people can use it with confidence. That’s when teams understand how agents work, reusable building blocks like prompts, agents, flows, and APIs start to take shape and get shared, and the business begins improving AI solutions the same way it improves apps: iterating on MVPs, learning from real usage, and refining what works.
And it’s when decision-makers understand enough themselves to keep the momentum going, beyond approving a pilot, they can actively lead the next steps.
How to choose a PoC that delivers value and actually gets used
A good PoC is not the most exciting part of the project, but it’s essential. It needs to:
- sit on an already successful business process
- be well-defined and constrained
- have clear, measurable outcomes
- deliver relief from repetitive, manual work
- create a sense of “finally, I don’t have to do this like a robot anymore”
This is what we call Proof of Value, not Proof of Concept. Early lighthouse projects should:
- reduce time spent on manual categorisation or triage
- replace low-value cognitive tasks (“read, sort, route, summarise”)
- demonstrate visible time savings or cost avoidance within weeks
- be easy to explain and easy to show
- create appetite for “what else can we automate?”
A simple example:
A flow categorises incoming emails → when it finds a certain category, it triggers an agent → the agent decides where the request should go and completes the next action.
It’s clear, repeatable, and the repetitive manual work from the process.
That’s the pattern you want.
Different users need different AI pathways
Once the fundamentals are in place (SharePoint cleaned up, governance set, access controls defined), adoption becomes a layered journey:
Layer 0 — Business users with no technical background
- Use AI for information synthesis
- Build small, safe mini-apps with Copilot Studio Light
- No creation of new systems, just better access to existing knowledge
Layer 1 — Managed Copilot Studio solutions
- Built and iterated by more technical users
- Governance, data connections, compliance configuration
- Where structured APIs and reusable prompt libraries emerge
Layer 2 — Pro-code engineering for fully custom solutions
- Complex integrations, advanced orchestration
- High-value automation tied into business-critical systems
- Requires agile delivery: MVP → iterated improvements → continuous optimisation
All three layers require different adoption strategies. All three can deliver value.
But the PoC you choose determines which layer you are enabling.
The biggest non-technical blockers are culture, clarity, and trust
Technology rarely blocks adoption. People do.
We see four blockers appear again and again:
Poor stakeholder management
Executives, end users, and IT all need to be aligned, and they rarely start that way.
Fear of automation
People need to hear clearly: “This helps you. It does not replace you.”
Disconnect between IT and the business
Business knows the process; IT knows the tools. Agents require both sides to collaborate.
Lack of clarity about decision rights
- Who approves agents?
- Who owns risks?
- Who maintains the agent when the process changes?
Without clear answers, trust is hard to establish and even harder to sustain.
How to prepare your workforce to collaborate with agents
Adoption is ultimately about behaviour change. The mindset shift is:
“AI is an extension of my tools, not a black box that takes over.”
Organisations should focus on:
- Training champions who mentor, explain limitations, and build confidence
- Teaching teams how to design good prompts and document them in a prompt library
- Regular feedback cycles (“What’s working? What’s frustrating?”)
- Making the agent’s role transparent: what it does, where the data goes, how decisions are made
- Ensuring agents always use up-to-date information
(The fastest way to break trust? Let an agent read from outdated files.)
Think of this as AI workplace readiness, not AI training.
The most successful teams build cross-functional capability, bringing together business process experts,
- prompt engineers or AI solution designers,
- data specialists,
- integration and pro-code developers,
- governance and security specialists,
- and product owners who treat agents as evolving applications.
Their mindset is agile rather than waterfall: start with an MVP, release it, gather feedback, and iterate continuously.
Governance is the foundation for sustainable, safe AI
Good AI governance is not bureaucracy. It is clarity.
Organisations need defined roles for:
- Policy ownership and risk management (usually IT + security)
- Quality assurance for prompts, agents, and data sources
- Access control and data protection
- Decision rights about when AI can act autonomously vs. when humans must step in
Business criticality becomes the deciding factor:
“What must remain human-in-the-loop?”
“What can be automated end-to-end?”
Well-designed governance enables scale. Poor governance kills it.
How to select a lighthouse use case for quick value and easy adoption
A great lighthouse project has three characteristics:
- Clear boundaries: the business process is simple and well understood.
- Measurable results: time saved, cost reduced, fewer errors.
- Heavy manual effort: repetitive tasks where humans feel like “bio-robots”.
These are the opportunities where agents shine immediately:
categorisation, routing, triage, summarisation, document extraction, escalation decisions. This is where momentum comes from.
How to build trust that drives real adoption
Trust is not created by accuracy alone. Users trust AI when:
- they understand its limitations
- champions are available to advise and mentor
- they see a clear audit trail of what the agent did and why
- their data and identity feel protected
- feature requests and feedback loops visibly shape the next iteration
Trust grows with use. Use grows with clarity. Clarity grows with good governance and good communication.
Avoid these mistakes
- Over-automating without understanding the process
- Building agents without guardrails
- No single owner for the solution
- Ignoring user needs, for example by having poor UX, unclear instructions, or wrong expectations
- Messy data and outdated SharePoint structures
- Not communicating early and often
AI adoption succeeds when it is treated like product development
Real value happens when organisations stop thinking about AI as a one-off pilot and start treating it as:
- a managed service
- an evolving product
- a collaboration between humans and agents
- an iterative improvement cycle
The PoC is only the start. The real work and the real payoff begin with intentional adoption, strong governance, cross-functional collaboration, and continuous improvement.
Want to move beyond experimentation and get ready for AI that drives real value? Get in touch for an AI-readiness workshop.
TL;DR
Microsoft Graph provides permission-aware access to Microsoft 365 data, but it doesn’t interpret meaning. The IQ layers add context so AI can reason safely: Work IQ helps Copilot connect people, conversations, content, and activity into usable work context; Fabric IQ (preview) adds governed business meaning so AI understands what data represents and how key entities relate; and Foundry IQ grounds custom agents in trusted enterprise knowledge via Azure AI Search, enabling secure retrieval and governance. In short, Graph enables access; IQ enables understanding.
Work IQ, Fabric IQ, Foundry IQ, vs Microsoft Graph
Over the past year, Microsoft has introduced a new family of concepts: Work IQ, Fabric IQ, and Foundry IQ.
If you’ve been following Copilot, Power Platform, Dynamics 365, or Azure AI Foundry, you’ve probably seen “IQ” mentioned more and more, often without a clear explanation of what it actually is, how it relates to Microsoft Graph, or why it matters for real business outcomes.
This post cuts through unnecessary complexity.
General AI is no longer the differentiator
A year ago, access to powerful AI models felt like an advantage. Today, it’s a must.
Every enterprise has access to strong foundation models. The real difference is no longer how smart the model is, but how well it understands your organisation.
What AI lacks is not general knowledge but enterprise context:
- how your processes actually work
- how your data is structured and governed
- how decisions are made
- what is allowed, restricted, or risky
- what is happening right now in your workflows
This is where the new “IQ” concepts come in. At its core, IQ is Microsoft’s way of describing an enterprise context engine. It’s the layer that turns raw data into something AI can reason over safely.
Microsoft Graph vs IQ: access vs understanding
Let’s start with the foundation: Microsoft Graph.
Microsoft Graph is:
- a unified API and access layer, and
- a data model that spans services
- connecting users, emails, files, calendars, Teams, SharePoint, and more.
The Graph name isn’t a coincidence. It reflects a connected data model of entities and relationships across Microsoft 365.
You can think of Graph as the unified access layer and permission model that gives consistent access to data stored across Microsoft 365 services.
What Graph does not do is interpret meaning.
Graph answers questions like:
- Which emails exist?
- Which files belong to this user?
- Which meetings happened last week?
It gives you access. The IQ layers sit above this. They don’t replace Graph, but they use it, enrich it, and reason over it.
A simple way to frame it:
Graph enables access. IQ enables understanding.
Work IQ: understanding how work actually happens
Work IQ is the intelligence layer Copilot uses to understand day-to-day work.
It builds a dynamic picture of:
- emails, chats, meetings, files
- tasks and decisions
- Dynamics 365 and Dataverse entities (when connected through Copilot experiences, plugins, or agents)
- relationships between people, content, and actions
- how work evolves over time
Crucially, Work IQ doesn’t just retrieve information, it interprets context.
That’s why Copilot can answer questions like:
- “What did we decide last week about the field project budget?”
- “Summarise the latest customer escalations and draft a report.”
It’s not searching like a document library. It’s reasoning over signals, patterns, and workflows.
A helpful analogy:
- Microsoft Graph is the access layer
- Work IQ is the intelligence layer that makes work context searchable, explainable, and useful
Work IQ also learns work patterns, preferences, and typical next actions. This is why it feels “personal” without breaking security boundaries.
From an organisational point of view:
- Work IQ is accessed primarily through Copilot
- It is out of the box
- You don’t need to define complex use cases to see value
But it only works well if your work is structured.
Copilot cannot infer intent from SharePoint chaos.
Fabric IQ: giving AI business meaning, not just data
If Work IQ understands work, Fabric IQ (preview) understands data.
In Fabric, IQ is essentially a governed business knowledge layer — a way to define entities, relationships, and meaning so AI can query and reason over data correctly.
Microsoft Fabric already centralises analytics across, OneLake, data warehouses, lakehouses, and Power BI semantic models.
Fabric IQ adds a critical layer on top: business meaning, capturing:
- data models and relationships
- semantic definitions
- measures and business logic
- lineage and governance rules
In other words, Fabric IQ allows AI to understand things like what the data represents, how entities relate, which numbers matter, and which rules must be respected.
This is a shift away from basic retrieval-augmented generation. Fabric IQ allows agents to ask analytical questions, generate code. spot anomalies, or explain trends in business terms.
For example:
- “Why did request volume spike in the North region last month?”
- “Show anomalies in field service cycle time.”
The difference is subtle but important: Fabric IQ grounds AI in what the data means, not just where it lives.
Foundry IQ: how custom agents stay grounded in trusted data
Foundry IQ is the knowledge grounding layer in Azure AI Foundry — it helps agents retrieve the right information from approved sources (securely and with governance), so they can reason and act with the right context.
While Work IQ and Fabric IQ are largely plug-and-play, Foundry IQ is fully custom, designed for Copilot agents, pro-code development, and multi-agent collaboration.
Foundry IQ brings together:
- knowledge sources (documents, databases, APIs)
- indexing + retrieval orchestration
- permission-aware grounding
- citations / traceability (where supported)
- governance + safety controls for knowledge use
If Work IQ is about understanding work and Fabric IQ is about understanding data, then:
Foundry IQ is the knowledge layer for Azure AI Foundry agents, built on Azure AI Search. It helps developers create reusable knowledge bases that agents can query through one API, with retrieval planning, source routing, and permission-aware grounding.
Without clear objectives, well-defined processes, and strong governance, Foundry IQ can quickly become expensive and ineffective.
It is powerful, but it’s not something to adopt without a clear business case.
Security, grounding, and guardrails
One common concern we hear is security. A critical point often missed:
Enterprise access control is enforced by the infrastructure (identity + permissions), not by the model.
Permissions, identity, access control, environment separation, and governance all sit below the IQ layers.
The IQ concepts don’t bypass security. They operate within it. This is why custom security policies and guardrails must be designed upfront, not added later.
Always keep in mind that AI is only as trustworthy as the context and constraints you give it.
What Microsoft-centric organisations should do now
For Dynamics 365 and Power Platform customers, the message is clear: go back to basics.
Before moving on to advanced agent scenarios:
- clean up SharePoint structures
- reduce duplication
- clarify ownership and versioning
- document key processes
- align Dataverse models with real business logic
AI is not magic, it just amplifies what already exists.
Where you can get real, immediate value
We see the fastest returns where context is already well defined. A classic example is onboarding.
If onboarding processes are documented:
- new hires can ask Copilot how things work
- find the right documents instantly
- understand workflows without tribal knowledge
Other early wins can be for example personal work summaries, prioritisation (“what needs my attention?”), or light decision support.
These are safe entry points that build trust before moving into deeper workflow augmentation with Foundry IQ.
The context advantage
In today’s AI landscape general knowledge is commoditised and models are interchangeable. What isn’t interchangeable is your context. The organisations that win will be those that make their context explicit, govern it properly, and design it deliberately for AI.
AI is only as smart as the context you allow it to see.
That’s where the real advantage lies.
Want to know where your organisation actually stands?
We help Microsoft-centric teams assess their readiness and identify where agents will create real value. Get in touch for a free audit.
TL;DR
Power Apps has introduced a new AI-native authoring experience (Vibe) where users describe a business need and the platform generates a complete application with data model, screens, logic and flows. This shifts Power Apps from low-code to intent-driven, no-barrier app creation. The direction is clear: Power Apps is becoming the AI application layer in Microsoft’s ecosystem, where natural language replaces manual app building. Organisations that modernise governance and data foundations early will benefit most.
Is low-code dead?
Earlier this year at the Power Platform Community Conference, the Business and Industry Copilot keynote introduced a phrase that has become the headline of the year:
“Low code is dead as we know it.”
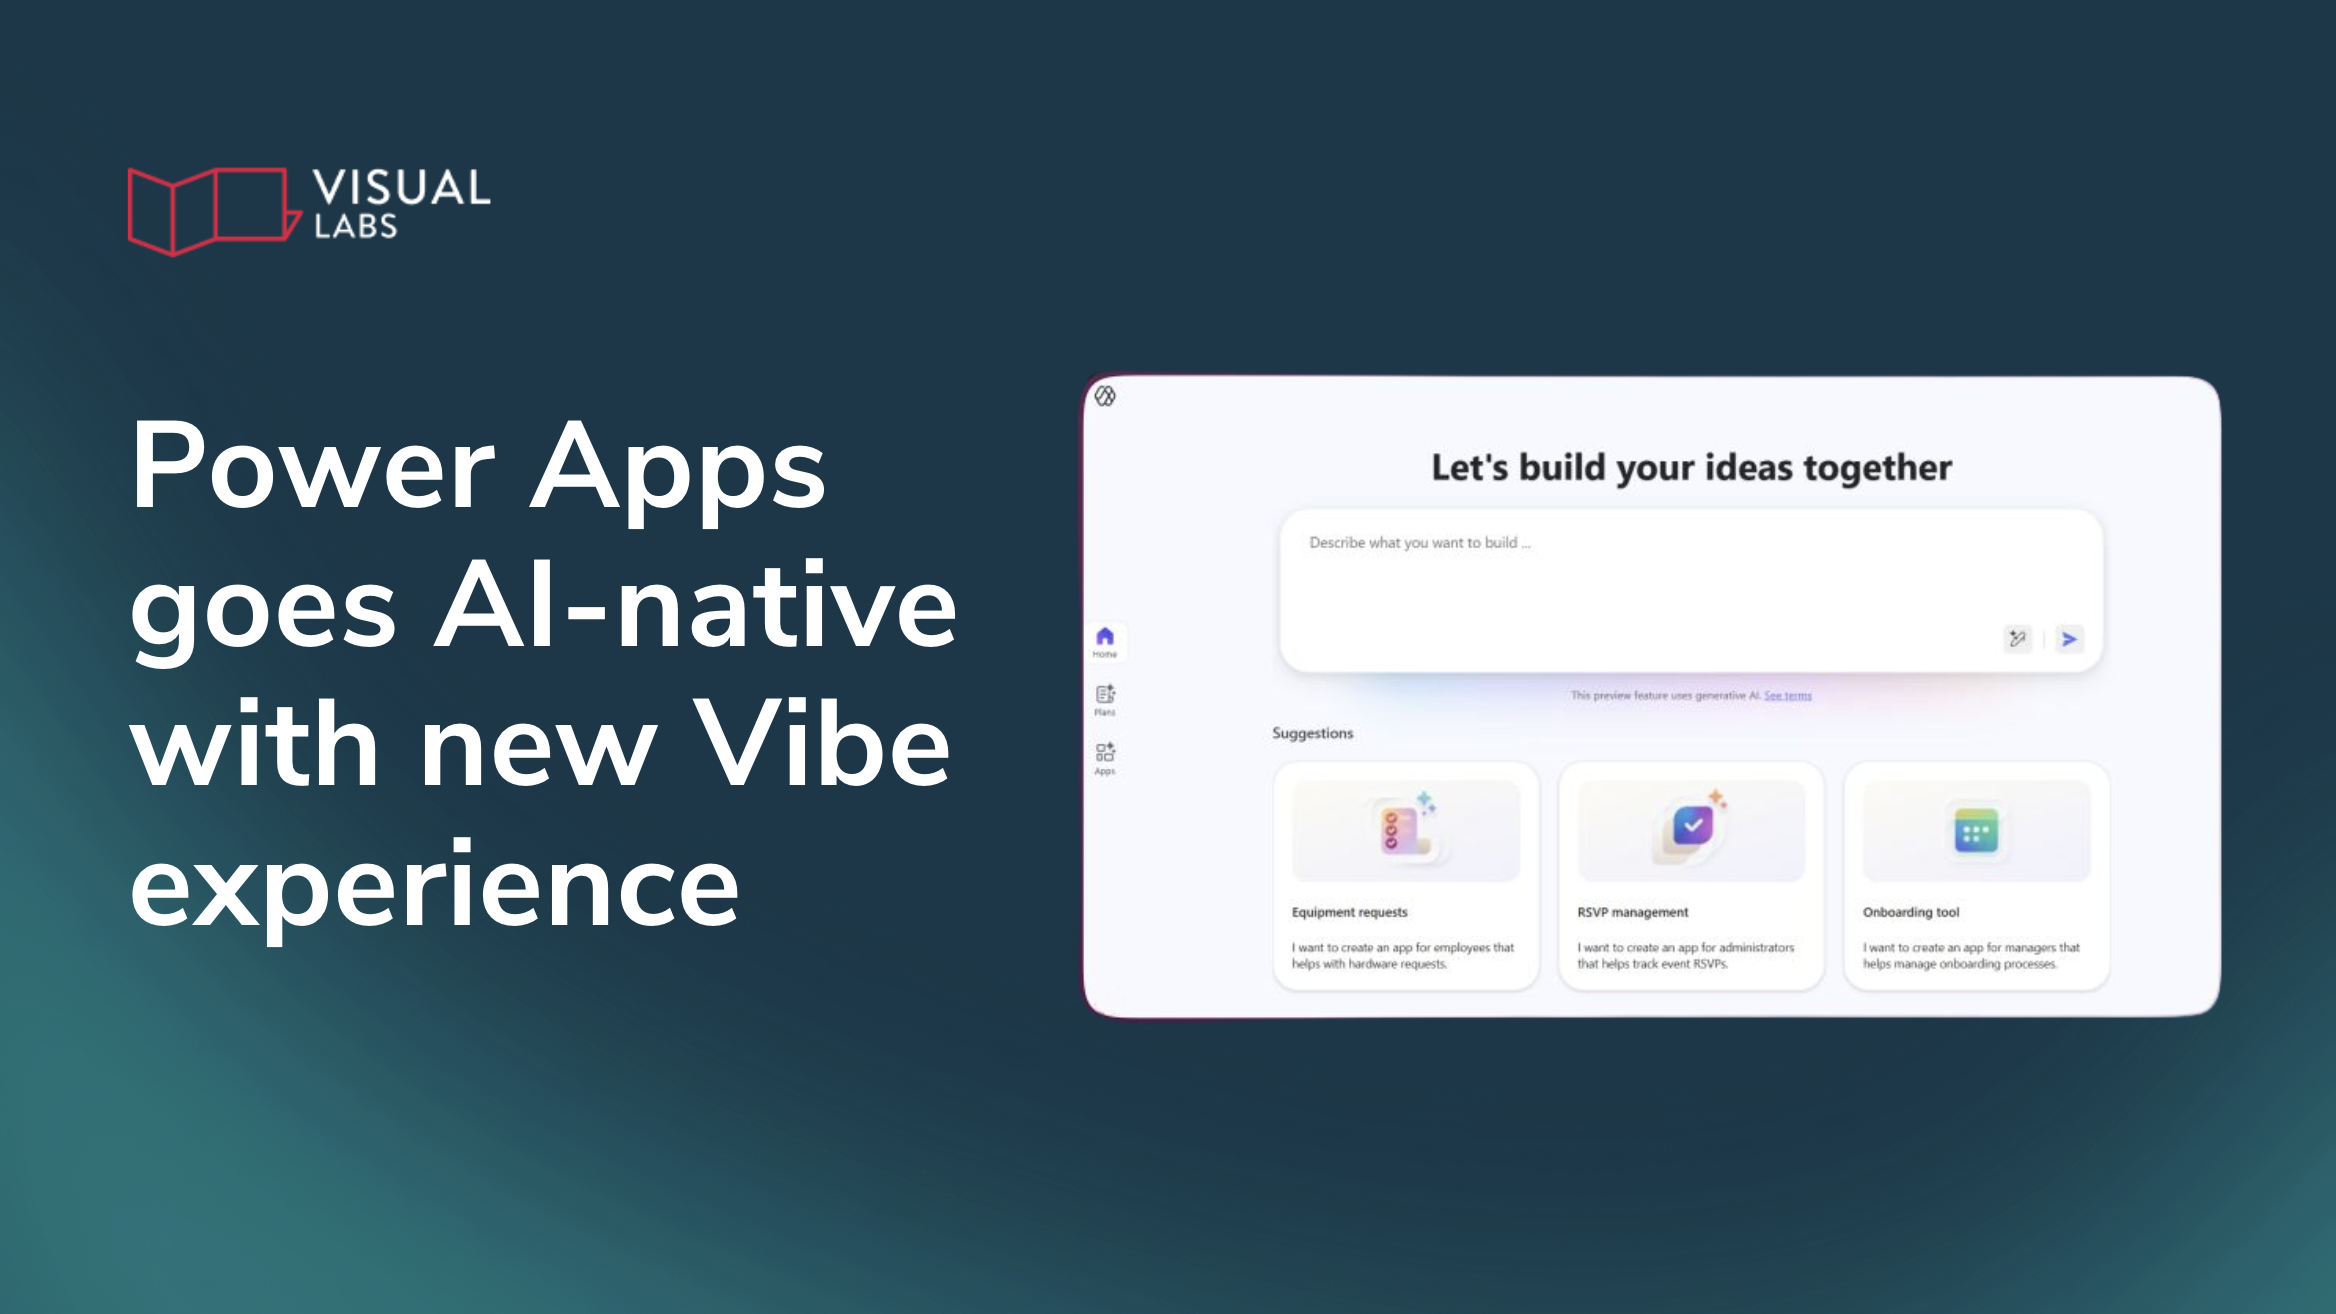
It was a recognition that the foundations of app development are changing. That shift became tangible a few weeks later at Microsoft Ignite, where Microsoft announced Vibe, the new AI-native Power Apps experience, now available through vibe.powerapps.com.
Instead of assembling screens and formulas, users now begin with intent. They describe a business problem, and Power Apps generates a working application.
This is the most significant evolution in the platform’s history, and it signals the start of a new era: AI-generated solution development.
From low-code to no-barrier
For years, Power Apps lowered the bar for business users, but the entry point was still higher than many expected. Even confident makers needed to understand components, tables, relationships, formulas and connectors. Low-code democratised development, but it didn’t eliminate complexity.
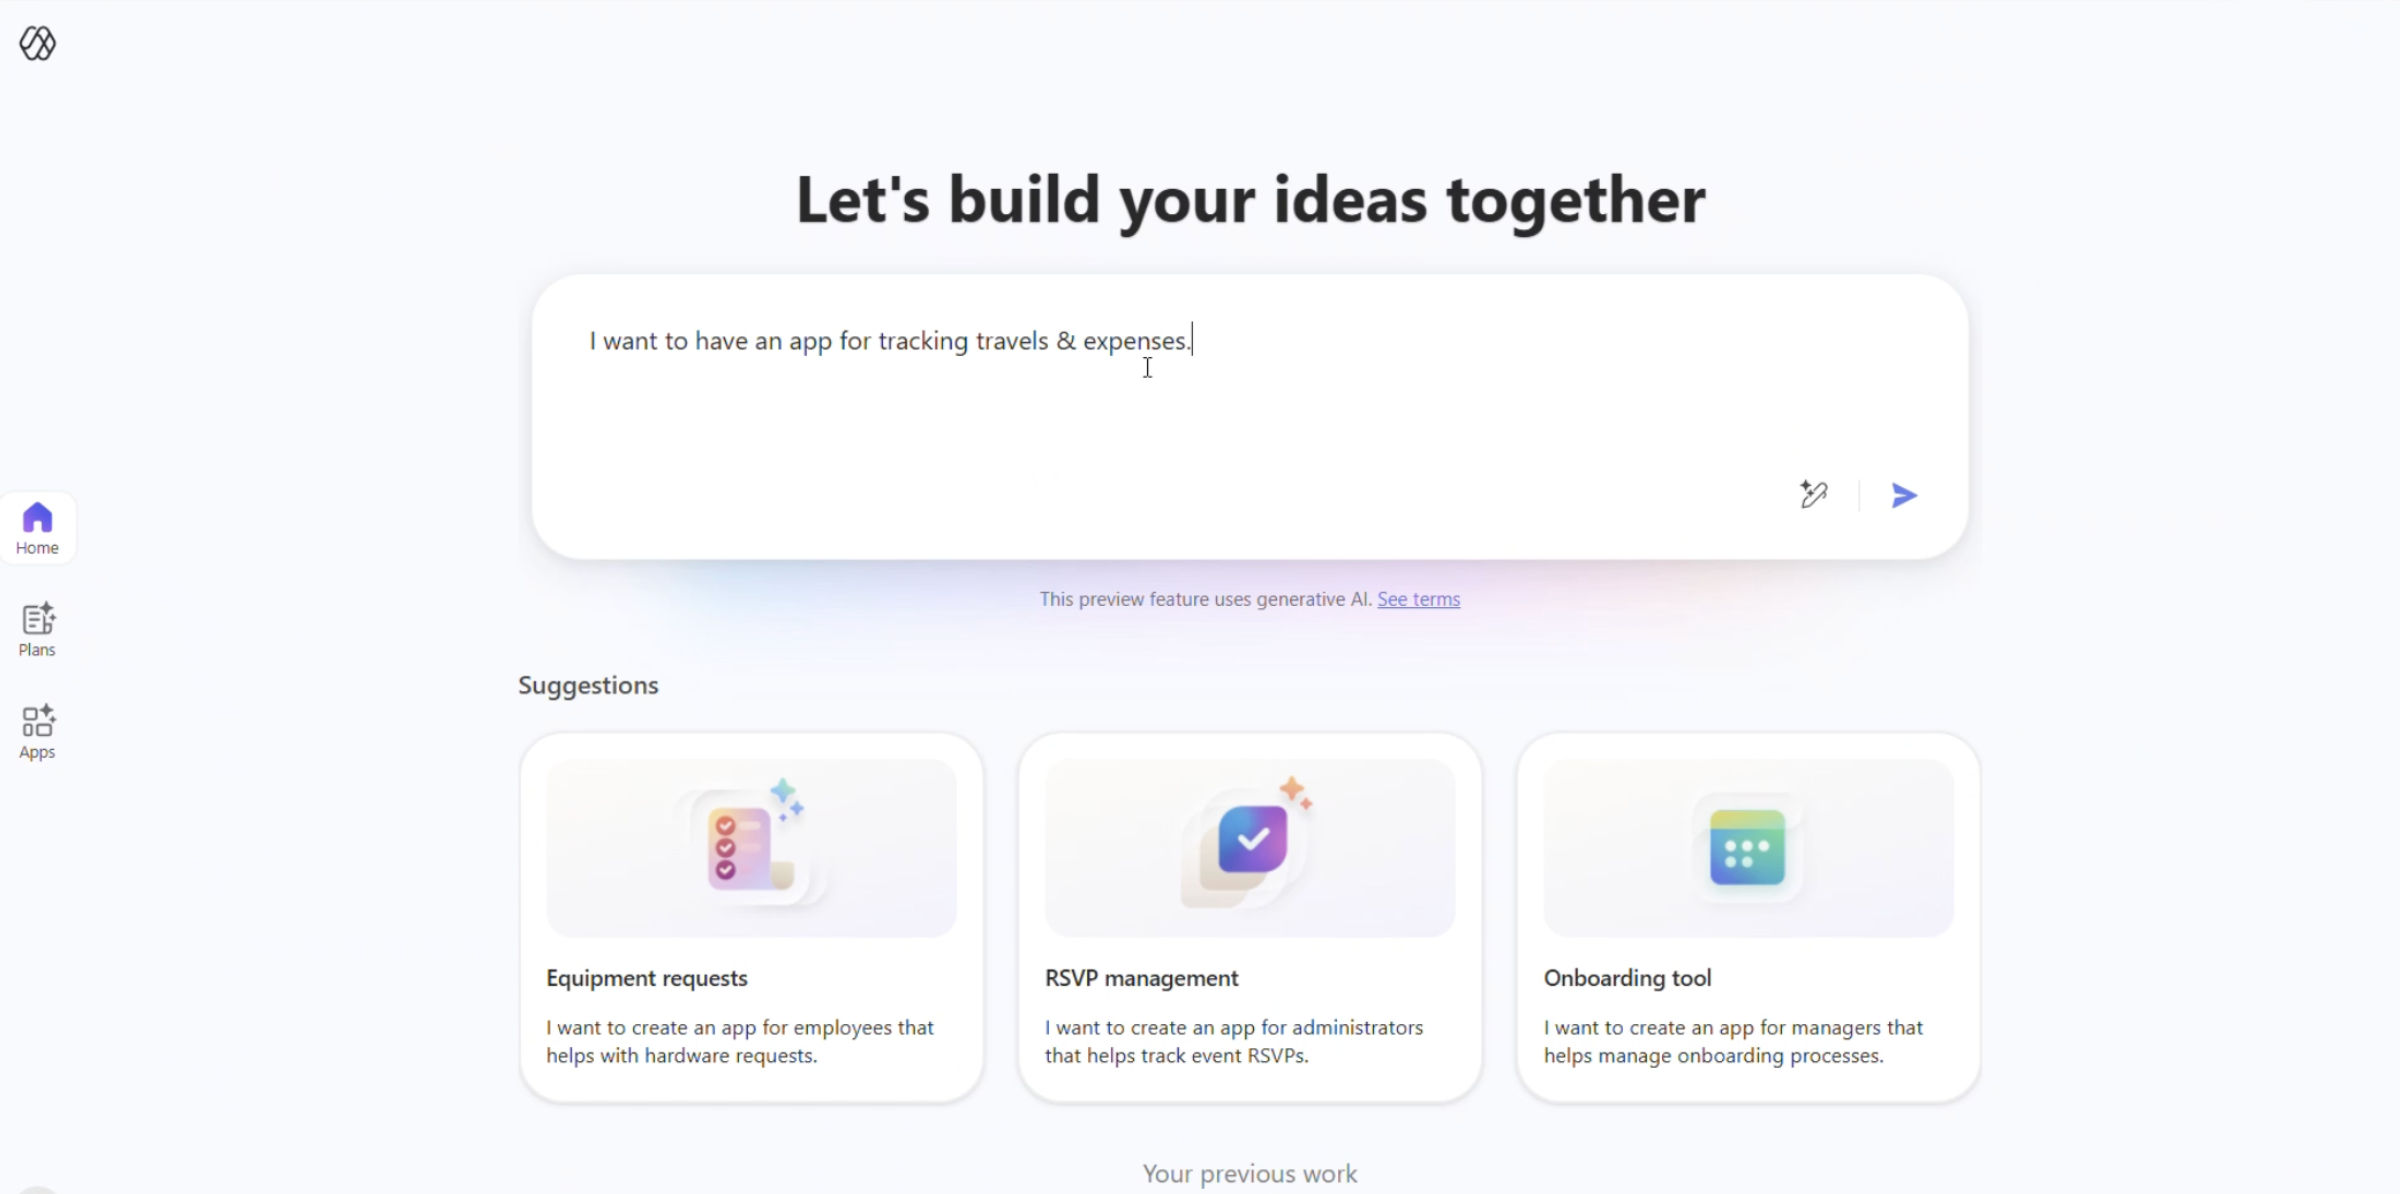
That barrier disappears in the new Power Apps experience. A user can simply type:
“I want an app to track travel and expenses.”
“I need a customer service solution.”
Within a few seconds, Power Apps produces a structured plan, a data model, screens, navigation, logic and relevant Power Automate flows. What previously required hours of design work appears almost instantly.
One message from Ignite was especially clear: the barrier to building business applications is disappearing. In the new experience, users no longer need technical skills to produce a functional app; describing the requirement is enough.
This isn’t simply an evolution of low-code tools. It marks the shift to AI generating enterprise-ready applications on demand.
A platform that codes for you
The new experience is not simply a more intelligent canvas. In Vibe Power Apps, the system generates React and TypeScript–based code structures behind the scenes. When a user asks to adjust alignment, change the theme, or add a new view, the platform updates the underlying structure and validates the changes automatically.
This makes Plan Designer more than a scoping tool. It provides a shared plan that guides how different Power Platform solutions are created. As requirements change, the plan can be updated and reused, even when apps, automations, or agents are built through different experiences.
Professional developers still play a key role, but their work shifts to higher-value layers. Instead of starting from scratch, they build on AI-generated foundations, refining implementations, integrating systems, and ensuring quality, security, architecture, and long-term sustainability.
Note: As with any evolving platform capability, the underlying implementation details may continue to change as the experience matures.

What this means for your organisation
1. Unmatched speed
Teams can now generate functional prototypes during the same meeting where ideas are discussed. This reduces the distance between identifying a need and testing a solution. Digitalisation accelerates because the early-stage friction is removed.
2. A new role for IT
As creation becomes easier, oversight becomes more important. IT transitions from being the primary builder to the orchestrator of the platform: setting standards, maintaining the data estate, defining environment strategy, enforcing DLP policies and ensuring the organisation doesn’t accumulate fragmented models or unmanaged apps.
The challenge is not that too many people can build. It’s making sure they build in a governed, consistent and secure way.
3. Data quality becomes make-or-break
AI can generate an app, but it cannot correct underlying structural issues. If organisations have duplicated tables, weak ownership or mismatched schemas, AI will amplify that complexity.
Strong data foundations, particularly the relationship between Dataverse, Fabric and line-of-business systems, become essential.
4. Higher business value
When ideas turn into runnable apps within minutes, organisations can test, iterate and validate far more frequently. This expands the capacity for innovation without expanding headcount.

Important limitations of the preview
The experience is powerful, but still early-stage. It’s currently only available in North America, so you need to set up a US developer environment if you want to experiment with it. (as of 17th December)
You should also keep in mind that:
- Apps made in the new interface cannot be edited in classic Power Apps.
- Exporting and redeploying via CLI creates a separate app rather than updating the original.
- Only one app per plan is supported today.
- Canvas and model-driven apps cannot be opened or edited in the new experience.
- Existing Dataverse tables aren’t automatically suggested, and schema editing via chat is not yet available.
- Direct code editing is intentionally restricted.
These limitations are not drawbacks; they are indicators that Microsoft is building a new category — an AI-first app development environment — that will grow alongside the traditional maker experiences.
AI as the application layer
Recent Microsoft announcements point to a broader shift across the ecosystem. Copilot is becoming the primary interface for work. Natural language is becoming the universal input. Business processes, data and applications are increasingly orchestrated behind conversational interactions.
In this future, Power Apps becomes not just a place to build apps, but the AI-native application layer that connects humans, processes and data.
Organisations that adapt early will move faster, reduce bottlenecks and empower their teams, but only if they also modernise their governance, data strategy and architectural foundations.
A turning point for the platform and for your organisation
The new Power Apps experience represents a structural shift in how digital solutions are created. The traditional act of building — dragging controls, writing formulas, configuring screens — is giving way to a world where ideas become apps instantly. Developers gain time to focus on high-value engineering. Business users gain the confidence to create. IT gains the responsibility to shape the ecosystem that makes it all run safely.
Low-code is not disappearing. But the era of manual low-code development is fading.
Intent is becoming the new development language.
Want to move from AI curiosity to real, measurable impact? Get in touch for an AI readiness workshop.
TL;DR
Most organisations want AI but aren’t ready for it. Real AI adoption means either augmenting employees with copilots or creating autonomous agents—but both require clean data, documented processes, and strong governance. If workflows live in Excel, approvals happen in chats, or data is scattered, AI has nothing reliable to operate on. Once processes are structured and people understand how to work with AI, the organisation can finally unlock decision intelligence, safe automation, and meaningful impact. AI doesn’t fail because the model is bad—it fails because the foundations aren’t there. Build readiness first, value follows.
What companies get wrong about “adding AI”
Every organisation wants to “implement AI”, but few can describe what that actually means.
Is it adding Copilot to meetings?
Automating tasks with Power Automate?
Building agents that take decisions on your behalf?
The reality is that most companies don’t yet know what they want to achieve with AI, and even fewer are ready for it. Not because they lack tools, but because their people, processes, and technology aren’t structured for AI to operate safely, reliably, and at scale.
This post breaks down, in practical terms, what organisations truly need for AI-enabled business processes, the common pitfalls we see again and again, and a clear framework your organisation can actually use to get started.
This is the second part of our series on agentic AI. Read more about
- How to get your organisation ready for agentic AI
- How to help employees adopt agentic AI
- How to improve to ROI of agentic AI
- How to upskill your agents for real work
- The biggest mistakes companies make when introducing AI
What “adding AI” really means
When most teams say they want to “add AI”, they usually mean one of two things, and each has very different requirements.
1. Extend the worker (AI-augmented work)
This is where copilots and conversational assistants truly shine: helping employees search company knowledge, summarise decisions, retrieve documents, and take routine actions. But this only works if:
- the AI actually understands your business data,
- the data is structured and governed, and
- the agent is not given decision rights that introduce risk.
The system must understand the company’s knowledge, not just respond to prompts.
2. Create autonomous workflows (AI agents)
This is the more advanced path: agents that make limited decisions, move work between systems, and act without constant human supervision.
But autonomy does not mean freedom. Governance is key. An agent should operate within a clearly defined scope and can only take business-critical decisions when it’s given clear criteria.
This distinction matters because it forces organisations to re-examine how they work. If your processes are unclear, inconsistent, or undocumented, AI will reveal that very quickly.
Before you automate anything, understand the real process
One of the first questions we ask in readiness workshops is deceptively simple:
“How does this process actually work today?”
Almost always, the answer reveals a gap between intention and reality:
- Sales opportunities tracked in Excel
- Approval steps handled informally in Teams chats
- Documents scattered across personal drives
- Edge cases handled by “whoever knows how to do it”
This is where it all breaks down. AI cannot automate a process if even humans cannot describe it. If a process isn’t documented, it's technical debt.
Another red flag is when organisations that want to “keep the process exactly as it is” and simply add AI on top. AI doesn’t work that way. If the process itself is inefficient, undocumented, or built on manual workarounds, no amount of automation will save it.
To get real value, the process must be worth automating in the first place, ideally delivering a 10x improvement when reimagined with AI.
The hidden bottleneck: your data
Every AI workflow, from copilots to autonomous agents, relies on data being structured, governed, consistent, discoverable, and stored in systems designed for long-term work.
If you’re tracking key business processes in Excel, you’re not AI-ready. Excel is brilliant for calculations, bu it is not designed for workflow execution, audit trails, role-based access, entity relationships, or system-to-system integration.
Excel is unstructured data. You cannot build AI on manual data.
The good news is that Microsoft’s systems are AI-ready by design:
- Dynamics 365 for structured sales and service processes
- Dataverse for the unified data backbone
- SharePoint for document lifecycle and governance
- Teams and Loop for shared context and collaboration
If your processes live outside these systems, your AI will operate without context, or worse, without safety.
And if your data sits in old on-premise servers? Connecting them to modern AI systems becomes slow, fragile, and expensive. AI thrives in the cloud because the cloud creates the structure AI needs.
Designing workflows where AI and humans work together, safely
Once processes are structured and data is governed, the next question is:
what should AI do, and what should humans do?
There’s a simple rule of thumb:
- High-impact, high-risk, or ambiguous decisions → human
- High-volume, low-risk, routine steps → AI
This is where human-in-the-loop design becomes essential. A well-designed AI workflow should:
- Define exactly where humans intervene
- Log every AI action for traceability
- Provide confidence scores and explanations
- Avoid overwhelming people with unnecessary alerts
- Keep the final accountability with the human owner
Humans should use judgement, handle exceptions, and ensure ethical and correct outcomes. AI should do the repetitive work, the data consolidation, and the first pass of tasks.
AI readiness is also about people, not just systems
One of the most underestimated aspects of AI readiness is human behaviour. For AI to work as intended, business users must:
- Be curious
- Know how to break their work into steps
- Be willing to adapt workflows
- Understand where data lives
- Ask questions and refine prompts
- Avoid bypassing the process when “it’s easier to do it my way”
Processes fail when people resist the change because they don’t understand the “why”. And they fail just as quickly when employees work around the automation or keep using personal storage instead of governed systems.
AI introduction is as much a cultural shift as it is a technical programme.
What you can finally ask once AI-readiness is achieved
Once the foundations are in place, people begin asking questions that were previously impossible:
“Which of our suppliers pose the highest risk based on the last 90 days of invoices?”
“What decisions were made in the last project meeting, and who owns them?”
“Show me opportunities stuck for more than 30 days without activity.”
“Draft a customer update using the last three emails, the CRM history, and the contract.”
“Alert me when unusual patterns appear in our service requests.”
These are questions an agent, not a chatbot, can answer. But only if the process is structured and the data is clean.
AI doesn’t fail because the model is bad. It fails because the organisation isn’t ready
Before building agents, copilots, or automations, ask yourself:
- Would AI understand our processes, or would it get lost in exceptions?
- Is our data structured, governed, and accessible?
- Do our people know how to work with AI, not around it?
- Are we prepared to support safe, auditable, and reliable AI operations?
If the answer is “not yet”, you’re not alone. Most organisations are still early in their readiness journey. But once the foundations are there, AI value follows quickly, safely, and at scale.
Want to move from AI curiosity to real, measurable impact? Get in touch for an AI readiness workshop.
TL;DR
90% of organisations aren’t ready for agentic AI because their people, processes, and technology are still fragmented. Before building copilots or custom agents, companies must become data-first organisations: establishing strong governance, integrating foundational systems, and replacing manual processes with structured, interconnected workflows. With agentic blueprints and a proven methodology grounded in value, architecture, and design patterns, Microsoft-centric organisations can gain AI value faster and more safely.
90% of organisations aren’t AI-ready. Are you?
Everyone is talking about AI agents — or copilots — that summarise meetings, answer questions, trigger workflows, and automate the routine.
Most organisations believe they’re “ready for AI” because they use ChatGPT or Copilot. But agentic AI only becomes valuable when the foundations are in place — governed data, consistent processes, and interconnected systems.
In reality, around 90% of organisations aren’t there yet. Their data lives in silos, processes run on spreadsheets, and collaboration happens in unstructured ways that AI cannot interpret.
So before you rush to “add AI,” stop for a moment. Is your organisation truly ready for an agentic AI strategy, or are you still running on Excel?
This is the first part of our series on agentic AI. Read more about
- How to introduce AI into your business processes
- How to help employees adopt agentic AI
- How to improve to ROI of agentic AI
- How to upskill your agents for real work
- The biggest mistakes companies make when introducing AI
From automation to augmentation
Many companies start here: Sales teams track opportunities in Excel. Documents live in personal folders. Collaboration happens over email or private Teams chats.
It works until it doesn’t. Because when you ask, “Can we plug AI into this?” the answer depends entirely on how your work is structured.
For AI to deliver value, your processes and data need to be consistent and governed. If information sits in silos or moves around without clear ownership, no Copilot will sort it out for you.
Step 0: Look at how you work
AI can only operate within the workspace it lives in. Before talking about technology, ask a simple question: How does your team actually get work done every day?
- Where do we keep track of our work, such as opportunities, sales/purchase orders, contacts, customers, and contracts?
- Who updates them?
- How are documents stored, shared, and versioned?
If the answer includes “Excel,” “someone keeps a list,” or any other manual step, that’s not AI-ready. Manual tracking makes automation impossible and governance invisible.
When we assess readiness, we start by examining your value patterns: how your teams create value across people, process, and technology. These patterns reveal which activities need to be structured into systems that log every action consistently. Only then can an agent analyse, predict, and assist.
Microsoft’s modern workspace is AI-ready by default
Microsoft’s modern workspace, including SharePoint, Teams, Loop, Dataverse, and Copilot, is already agent-ready by design.
Chat, files, and meeting notes create structured, secure data in the cloud. When your team works in this environment, an AI agent can see what’s happening, and safely answer questions like:
- “What was decided in the last project meeting?”
- “Show me invoices from vendors in Q3.”
- “Which opportunities need follow-up this week?”
With even basic tools, you can achieve impressive results. A simple SharePoint automation can pull in invoices, let AI read and structure them into columns (supplier, invoice number, amount), and feed the data into Power BI, all in an afternoon.
Step 1: governance first, AI second
When someone logs into Copilot and asks a question, Copilot will find everything they can access. That’s both the promise and the risk, without strong data loss prevention, AI may surface information you never intended to expose.
This is why governance is the first pillar of any AI readiness strategy, and it’s the foundation of our value–architecture–design pattern methodology. Without clear ownership, access, and data controls, no agent can operate safely.
When we run readiness audits, the first questions aren’t about models or copilots — they’re about access and accountability:
- Who owns each SharePoint site?
- Who has edit rights?
- Is sensitive data over-shared across Teams?
- What happens if a site owner leaves the company?
The good news is that Microsoft’s audit tools automatically flag ownership gaps, oversharing, and risky access patterns so you can act before an AI ever touches the data.
Step 2: structure your business data
Even with strong governance, your data still needs structure. AI can read unstructured notes and spreadsheets, but it can’t extract meaningful insights without a consistent data model.
This is where Microsoft's data ecosystem helps. Their tools connect sales, service, finance, and other processes into a single, governed data layer. Every record — contact, invoice, opportunity — sits in one place with shared logic.
Structuring business data turns your architecture patterns into reality. When CRM, ERP, SharePoint, and collaboration systems are interconnected, you create the unified backbone that agentic workflows rely on.
And that’s where agentic AI truly begins. You can build agents that review opportunities, identify risks, and recommend next steps based on the clean, consistent data flowing through Microsoft 365.
Step 3: from readiness to reality
Once the foundation is solid, the strategy becomes clear:
- Audit your workspace and permissions.
- Standardise how data is collected and stored.
- Govern collaboration and access through Teams and SharePoint admins.
- Enable your first agent — a Copilot, chatbot, or custom agent using Copilot Studio — to assist in everyday processes.
From there, you can start to ask more ambitious questions:
- Which of our processes could an agent safely automate?
- How do we combine Copilot with custom workflows to handle domain-specific tasks?
- What guardrails do we need so that AI doesn’t just act, but acts responsibly?
You also don’t have to start from scratch. Our proprietary baseline agents for Microsoft ecosystems cover common enterprise scenarios and act as accelerators, reducing implementation time and giving you a proven foundation to tailor AI behaviour to your organisation.
Want to learn more? Come to our free webinar.
The right question isn’t “how fast”, it’s “how ready”
Every organisation wants to move fast on AI. But the real differentiator isn’t how early you adopt, it’s how prepared you are when you do.
For small teams, AI readiness can be achieved in weeks. For large, established enterprises, it’s a transformation touching governance, data models, core systems and ways of working.
So before asking “How soon can we deploy an agent?” ask instead:
- “Would our current systems help or confuse the AI?”
- “Can we trust the AI to find, but not expose our data?”
- “Do our people know how to work with agents, not against them?”
That’s what an agentic AI strategy really is. Not just technology, but the deliberate design of trust, control, and collaboration between humans and AI.
Before you deploy agents, build the trust they need to work
AI adoption is no longer about experimentation. It’s about building the right foundations — governance, structure, and readiness — so your first agents don’t just answer questions, but deliver real, secure value.
Agentic AI starts with readiness. Once your systems, data, and people are ready, intelligence follows naturally.
We help Microsoft-centric organisations move from AI-curiosity to real impact, creating environments where AI agents can operate safely, efficiently, and intelligent.
Join our free 45-minute webinar — we’ll walk you through how to get AI-ready in 90 days.
